
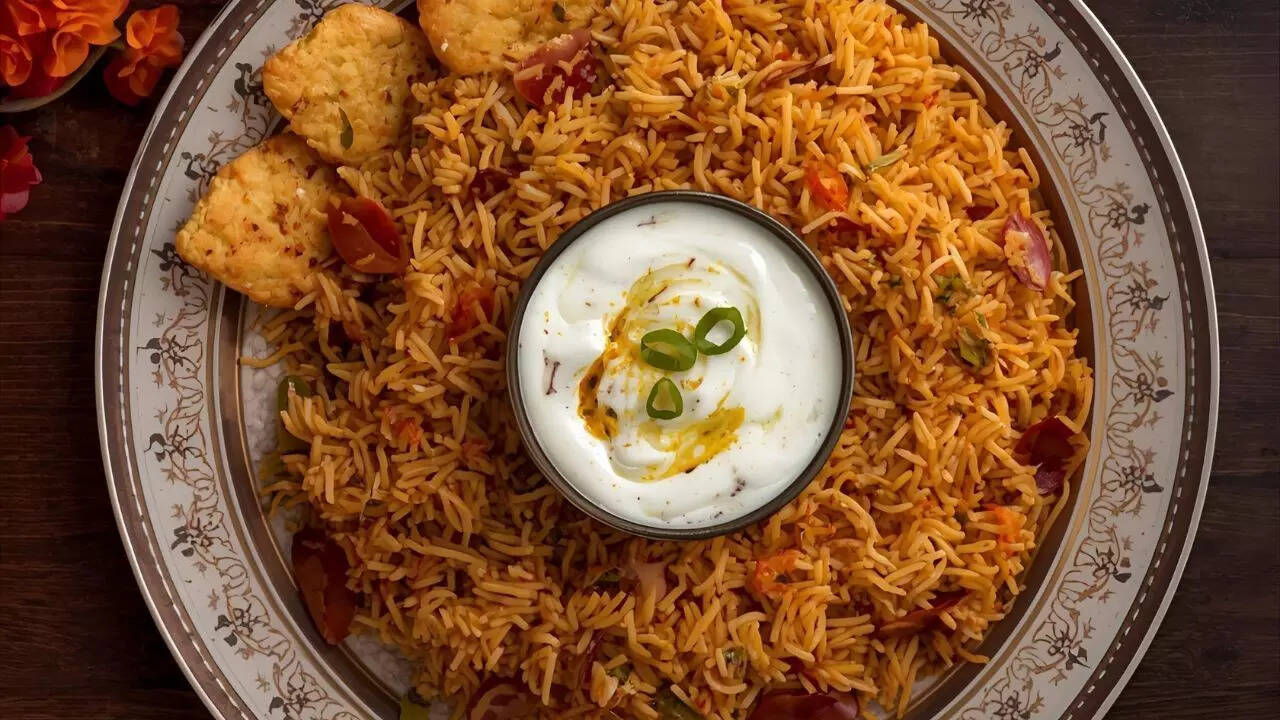
There are few food pairings as iconic as Hyderabadi biryani with a side of cool raita. But if you want to experience biryani the way Hyderabadis do, you need to try Burani Raita. This is not your everyday plain yogurt raita. Burani Raita is bold, garlicky, and irresistibly smooth. It cuts through the spices of biryani and refreshes your palate with every spoonful.Made with just a handful of ingredients such as creamy yogurt, crushed garlic, roasted cumin, and fresh herbs, this raita proves that simplicity can be deliciously powerful. What makes it special is the punch of raw garlic balanced by the cooling nature of yogurt. The result is a side dish that is refreshing yet full of character, subtle yet memorable.In this article, you will learn what makes Burani Raita unique, the step-by-step recipe, tips to perfect the taste, and the best dishes to pair it with. By the end, you will have everything you need to bring authentic Hyderabadi flavors to your kitchen.
What is Burani raita
Burani Raita is a traditional Hyderabadi side dish made from yogurt and seasoned with garlic, roasted cumin, and chilli. Unlike regular raita, which is mild and soothing, Burani Raita adds a strong garlicky flavour and a smoky touch from cumin. The combination makes it an ideal partner for the rich and spicy biryanis Hyderabad is famous for.Its origin lies in Deccani cuisine, which celebrates bold and layered flavours. Think of it as the cooling companion that completes every plate of biryani.
Ingredients for Burani raita
- 1 cup thick yogurt (curd or dahi)
- 3 to 4 garlic cloves, finely crushed
- ½ teaspoon roasted cumin powder
- ½ teaspoon red chilli powder
- Salt to taste
- 1 tablespoon coriander or mint leaves, finely chopped
1 to 2 tablespoons chilled water if yogurt is too thick
Step-by-step Burani raita recipe

Step 1: Whisk the yogurt
Place yogurt in a bowl and whisk until smooth and creamy. Add a little chilled water if needed.
Step 2: Add garlic and spices
Mix in the crushed garlic, roasted cumin powder, and salt. Blend until the flavour is even throughout.
Step 3: Adjust the taste
Taste and add extra cumin or black pepper if you want more depth.
Step 4: Garnish
Sprinkle red chilli powder on top and finish with chopped coriander or mint leaves.
Step 5: Chill and serve
Refrigerate the raita for 15 to 20 minutes before serving so that the flavours combine beautifully.
Tips to make the best Burani raita
- Use thick, fresh yogurt for a creamy texture
- Roast cumin seeds before grinding to bring out a nutty aroma
- Crush garlic finely to avoid harsh chunks
- Adjust spice levels depending on the dish you are serving it with
- Always serve chilled to enjoy the full refreshing effect
What to serve Burani raita with
Although best known as the classic partner for Hyderabadi biryani, Burani Raita also pairs well with:
- Vegetable pulao and rice dishes
- Grilled kebabs or tandoori chicken
- Spicy curries like
mutton curry or chicken curry - Mughlai dishes such as korma
- Even simple stuffed parathas, when you want a flavourful side
Why Burani raita stands out
Plain raita is light and soothing, but Burani Raita takes the experience further. The garlic adds intensity, cumin adds warmth, and yogurt balances it all with a cooling touch. This mix of bold and refreshing flavours is why Hyderabadis rarely serve biryani without it.Burani Raita is proof that the simplest recipes can be the most memorable. With yogurt, garlic, cumin, and a sprinkle of spice, you get a dish that is creamy, bold, and refreshing all at once. If you are cooking biryani or any rich Indian meal, serve it with Burani Raita for a truly authentic Hyderabadi experience. Once you taste it, you will never look at plain raita the same way again.Disclaimer: This article is for general informational purposes only and is not a substitute for professional medical advice, diagnosis, or treatment. Always seek the guidance of a qualified healthcare provider regarding any medical condition or lifestyle change.Also read| Can you reheat eggs? Safe methods, taste tips and study backed facts